
SCCA Street Touring Brakes - A Primer (With Useful Info For Everyone Else)
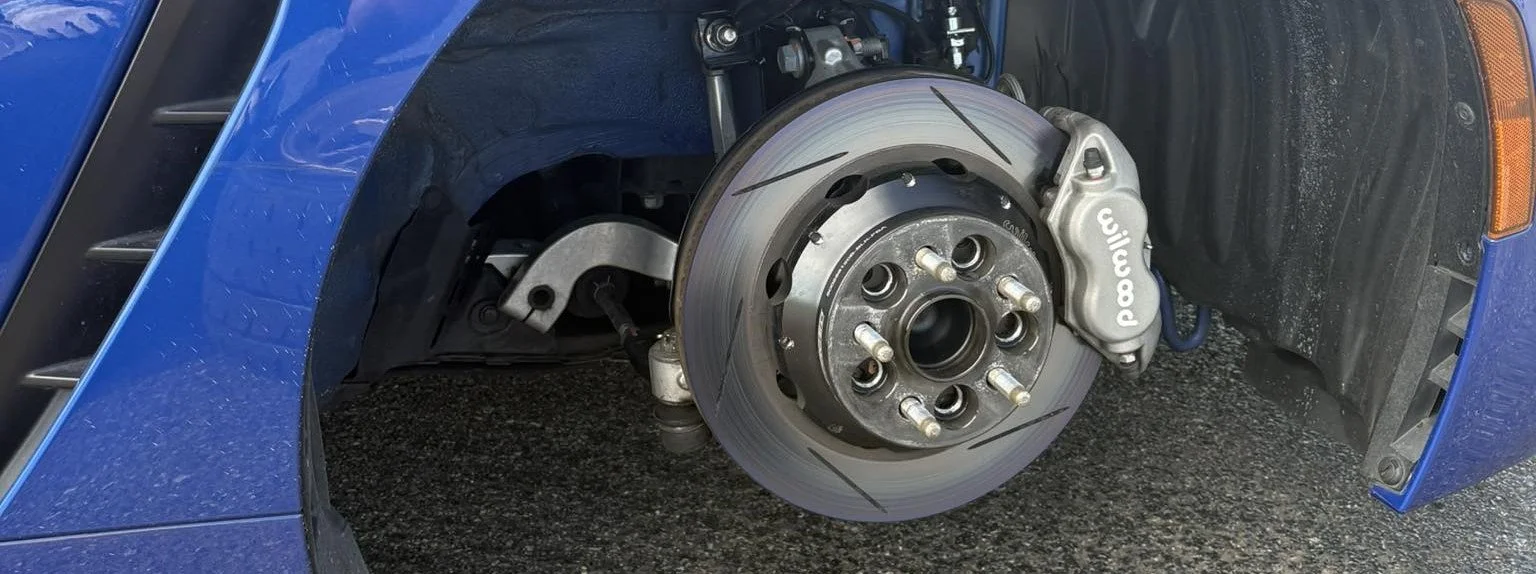
PhasedApproach CST Lightweight Brake Kit
Building the lightest legal front brake — and why, for autocross, lighter beats bigger every time.
Originally, the rule was written to allow higher thermal capacity brakes for track use. However, the way the rules are written, effectively, as long as the rotor dimensions are no smaller than stock, anything goes. A clever competitor can make use of this in a few different key ways.
Before we get into that, the precise constraints are worth stating, because two of them shape every decision below (and because the Solo rules get revised annually — confirm against your current year's book before you spend money):
- Rotor diameter and thickness must be equal to or greater than OE. Aluminum hats are fine; the friction ring must be ferrous.
- Calipers may be replaced, but the number of pistons must be equal to or greater than OE, and the caliper/bracket must bolt to the standard mounting locations.
- ABS may be electrically disabled but not removed, and an OE-type emergency brake must remain functional.
The headline takeaway is unchanged: dimensions set a floor, not a ceiling, and the floor is the only thing stopping you from building the lightest legal brake that satisfies bias and the pad you want.
Most people are going to use this as the original crafters of the rule intended. Find an off-the-shelf kit that will let them also take the car to the track, or at the very least, an OTS kit that will lighten the caliper and rotor assembly weight somewhat, but wouldn't be done with weight as the first and foremost priority. While productive, the ideal setup for autocross will be effectively solely focused on weight, as thermal capacity doesn't come into it for such short runs. Every gram you're carrying for heat capacity is unsprung, rotating weight you're paying for and never using.
There are a couple potential issues, both with rolling your own setup, and with a lot of the existing kits out there, so let's step through them.
Running an off-the-shelf kit
For those looking at just running an OTS kit, here are some things worth thinking about.
1. Figure out how much weight you're giving up versus something built to the rules. There are commonly-used BBKs that weigh as much as 20 lbs more (and likely more for something like an SST car with huge OE brakes) than what you can get away with under the rules. Decide whether the track-day flexibility, or the convenience of just clicking "add to cart" once is worth it to you.
2. Check out piston area — and don't confuse it with piston count. These are two different things, and the rules and the physics each care about a different one.
The rules care about count: you need pistons equal to or greater than OE. The physics of your brake bias care about total piston area — the sum of πr² across every piston on one side of the caliper. That total, times line pressure, is your clamping force, and clamping force at a given pedal effort is what sets your front-to-rear torque split.
One wrinkle that matters when you're doing this math: you count piston area on one side of the caliper only, never both sides combined — and this is true whether the caliper is fixed or sliding. For a fixed caliper, the inboard and outboard pistons are hydraulic halves of the same clamp; pressure × inboard area produces a force that equals pressure × outboard area, and the rotor is sandwiched between them. Adding both sides double-counts the clamp. For a sliding caliper there are only pistons on one side anyway; the slide pins pull the outboard pad in from the back. Same formula either way: pressure × one-side piston area = clamping force. So an OE single-piston slider with a 54mm bore (about 23cm²) compared to a 4-piston fixed caliper with 36mm bores on each side ( about 41cm² per side) is roughly a 78% increase in clamping force per psi — a meaningful forward bias shift, even though the rule only sees "1 piston vs 4."
A sneaky gotcha here: plenty of OE sport-sedan calipers that look fixed at a glance are actually sliders with multiple pistons all on the inboard side — common Brembo OE applications, some Akebono designs. They still count as sliders. Sum the inboard pistons, that's your clamping area; don't double-count by adding a phantom outboard set.
If total area is much different from stock, you can run into a number of issues. On an ABS car, the calibration carries a model of how much line pressure produces how much deceleration at each axle; move front area a long way from stock and you give up effective stopping power as ABS engages too early, fighting a front that now grabs harder than the controller expects. On a non-ABS car (or one where you've legally disabled ABS), you're stuck with a bias you have no tool in the ruleset to fix otherwise, or you patch-fix it with suboptimal compound choices on the pad side.
A mild forward shift is generally reasonable with the high-grip 200TW tires we run — the extra front grip raises the lockup threshold, so a little more front bias actually uses grip that's available. The trap is treating "mild" as "more is better." A big area increase is where ABS calibration and pedal feel both start to suffer.
The OTS catch: A 6-piston caliper satisfies the rules handily, but six small pistons can add up to more total area than your OE 4-piston, even though it looks like the same family of part. Don't shop by piston count for bias. Get the bore sizes, add the areas, and compare to OE.
3. Ensure the pad shape is one you can get a compound you're happy with. Being dependent on custom-cut, super expensive pads, or being dependent on ONE manufacturer not going out of business (RIP Raybestos) is not a quality long-term strategy. Pad shape also quietly sets two things you care about: the effective radius (where the pad's contact-patch centroid sits on the rotor, which is what actually multiplies your clamping force into torque) and whether the pad fully sweeps the rotor without overhanging an edge. A common, well-supported shape — the standard Wilwood footprints, common Brembo and AP shapes — gives you a deep compound catalog from nearly every friction manufacturer, which matters more for a long-lived autocross car than any single dyno number.
For us and many others, #1 alone is enough of a reason to pursue a custom kit. Saving 20 lbs of unsprung, rotational mass is huge. Hell, saving a few is valuable. And being able to spend less than you'd spend on an OTS BBK to be rules-optimized? Excellent value. So here's where I'd go with that.
Rolling your own
1. Pick the lightest caliper that satisfies the constraints above — piston count ≥ OE for the rules, total piston area near stock for bias, and one that works with your rotor dimensions and mounting. Wilwood, AP Racing, Brembo, Alcon, Endless, PFC — all sell calipers à la carte, either direct or through distributors. We tend to like Wilwood calipers here: their data is fairly public, they're easy to prototype and model, and their pad shapes are available from nearly anyone you'd ever want to buy brake pads from.
A few things worth weighing while you're in the catalog:
- Rigidity is a real, free benefit. A stiff forged caliper deflects less under pressure, which means a firmer pedal, less fluid lost to flex, and less pad knockback. This is most of the "feel" upgrade people attribute to a BBK, and you get it without changing your brake force at all. Doubly true if you're moving off an OE slider — sticky pins quietly cost you outboard pad force on an aging caliper, and a fixed design eliminates that failure mode entirely.
- Differential-bore (staggered piston) calipers size the leading and trailing pistons differently to even out pad drag and wear. Nice to have if the option exists in your area target.
- Mind the seals if the car sees the street. A lot of the lightest race calipers ship without dust boots. That's fine on a dedicated car, less fine if this thing lives outside and sees rain and road grit — plan on more frequent seal service, or pick a caliper with boots.
2. Figure out how to get the lightest rotor you can with stock dimensions. Sometimes a usable rotor hat will exist in a catalog (Wilwood hats and Coleman rotor rings are a favorite). Sometimes it won't. Sometimes the caliper is the only juice worth the squeeze to you — you can build a kit just as well around a stock rotor, it just won't be weight-optimized. A two-piece ring on an aluminum hat is where the big rotor savings live, and since you don't need the thermal mass, a thinner/lighter ring at the legal minimum diameter is exactly what you want. Don't get talked into directional vanes or extra mass for cooling; for 60 seconds at autocross power it's dead weight. Sometimes what's available and easy to assemble involves shifting the rotor/caliper assembly around a bit when mounted — ensure this will work with your wheels/offset, and anything else that can get in your way that you can't also fix legally in ST.
3. Design, or have a bracket designed. This requires knowing the rotor and caliper you intend to use, and some time in CAD (or hiring it out). At least with some manufacturers it's easy to CAD a rotor ring, hat, caliper, and bracket, then 3D print test parts for a very small amount of money to check fit and clearance before you buy the real thing. Do this — it's the cheapest insurance in the whole project.
4. Order up the parts. Don't forget lines that'll work with your caliper (frequently available from suppliers, or make your own — it isn't as hard as people would lead you to believe), the right fittings, fresh fluid for the bleed, and any hardware you'll need or be changing in the swap (rotor bolts, pad hardware, abutment clips). Confirm the OE-type e-brake still functions with whatever you've built, since the rules require it.
5. Select a pad. If piston area is unchanged and the rotor outer diameter hasn't changed, the instinct is "the radius is the same, so brake force is the same, just run the pad I already like." Mostly true, and a great default — but confirm the radius part rather than assuming it. Effective radius is set by where the pad's contact patch sits, not by the rotor's outer edge. A different caliper and bracket can place the pad centroid at a slightly different radius on the same-diameter rotor, and if it does, you've changed torque (and therefore bias) even with identical piston area. So: check that the new pad's centroid sits at the same radius as stock, and that the pad fully sweeps the ring without overhanging the inner or outer edge. If those hold, run the compound you're already happy with — same brake force, just less thermal capacity you don't need and a likely improvement in feel from the stiffer caliper and bracket. If the radius shifted, treat it like the bias change it is and adjust front/rear compound accordingly.
6. Test! Specifically, feel for pedal firmness and travel, check for knockback after a few hard runs (a sign of runout or bearing play meeting your new clearances), confirm the bias feels right under threshold braking, and pull the pads after your first event or two to check for even wear and proper sweep. Then enjoy the weight reduction.
The short version: In ST, the rotor diameter is a floor you're forced to respect, but everything else is yours to optimize for a duty cycle that never gets hot. Satisfy the piston count for the rules and the piston area for the bias, build the lightest legal caliper-and-rotor assembly you can around a stiff bracket, keep the effective radius where it was so you can keep the pad you trust, and pocket the unsprung weight.